Wrap up tutorial
Tutorial finishing up what we started Week 1, 8/29.
Adding SteamVR
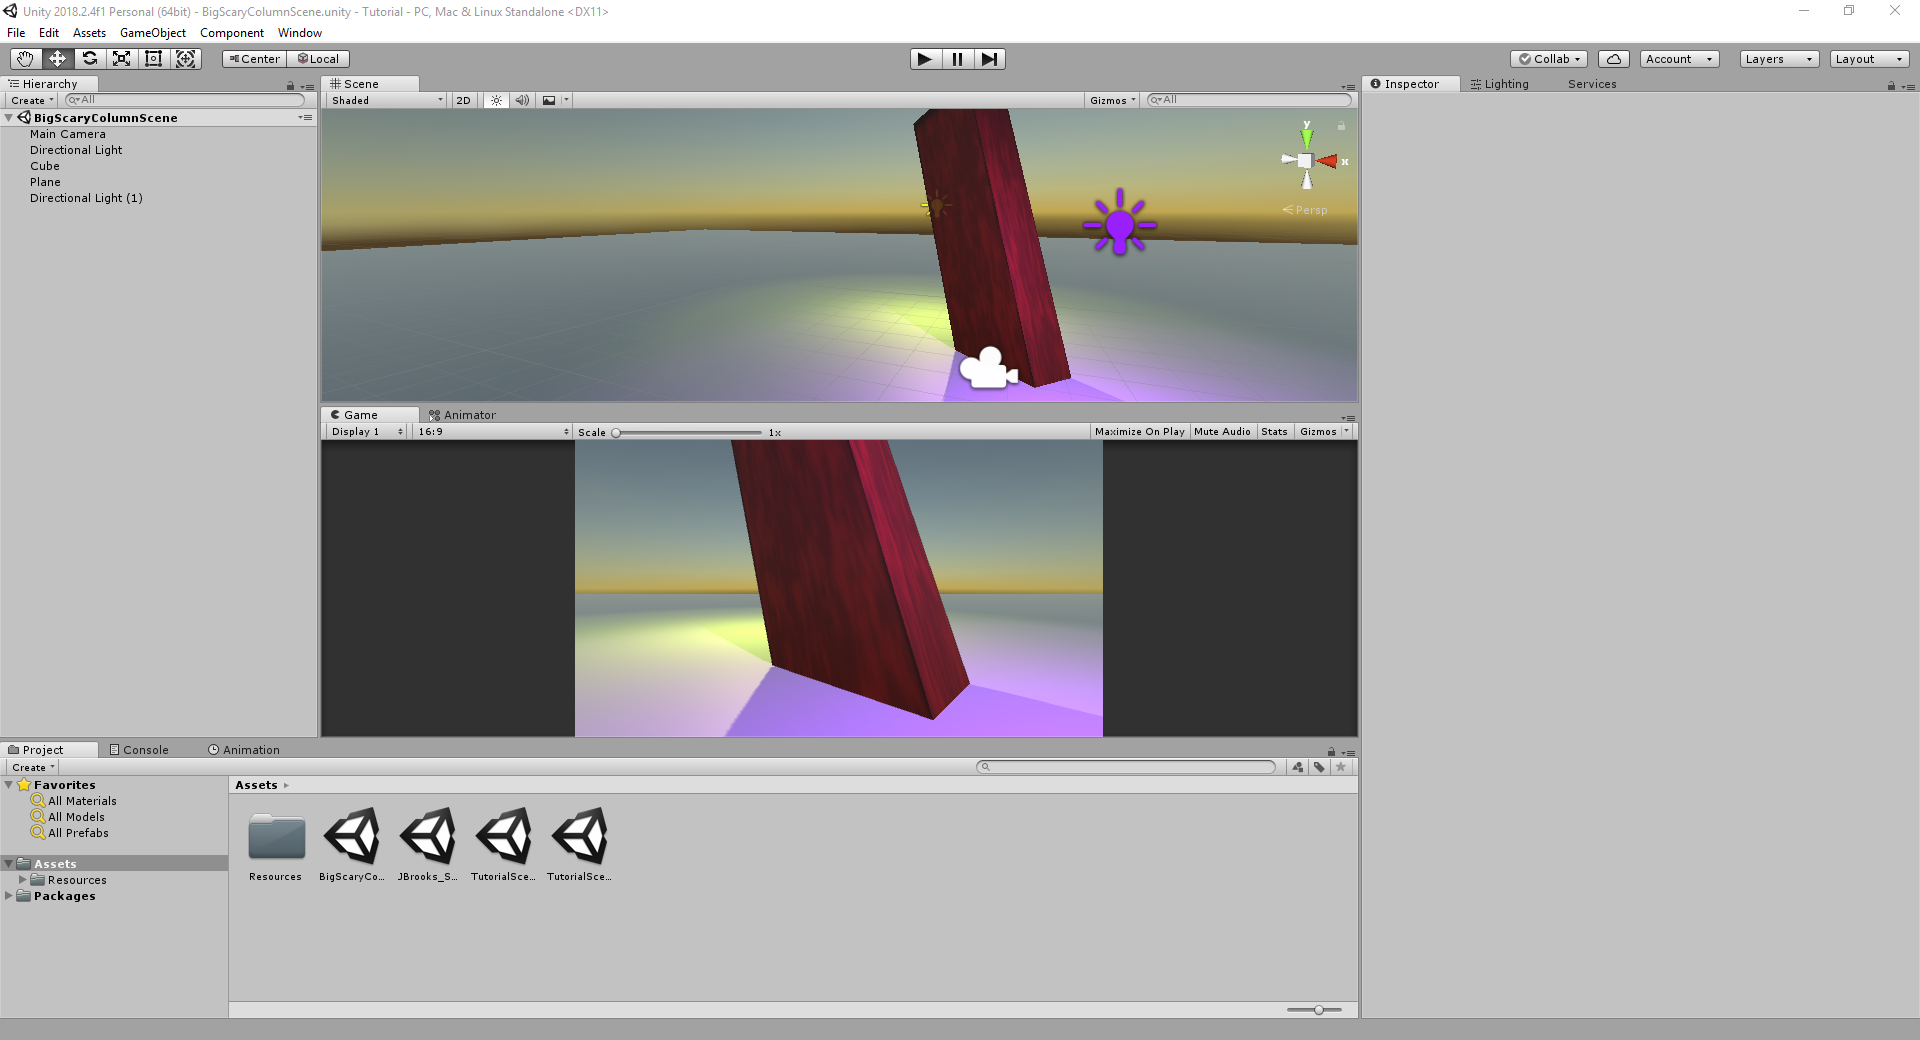
Open your project on the virtual reality system (eg desktop at MacLean 402).
Open the asset store window (Ctrl + 9, or Window > General > Asset Store). Search "SteamVR Plugin".
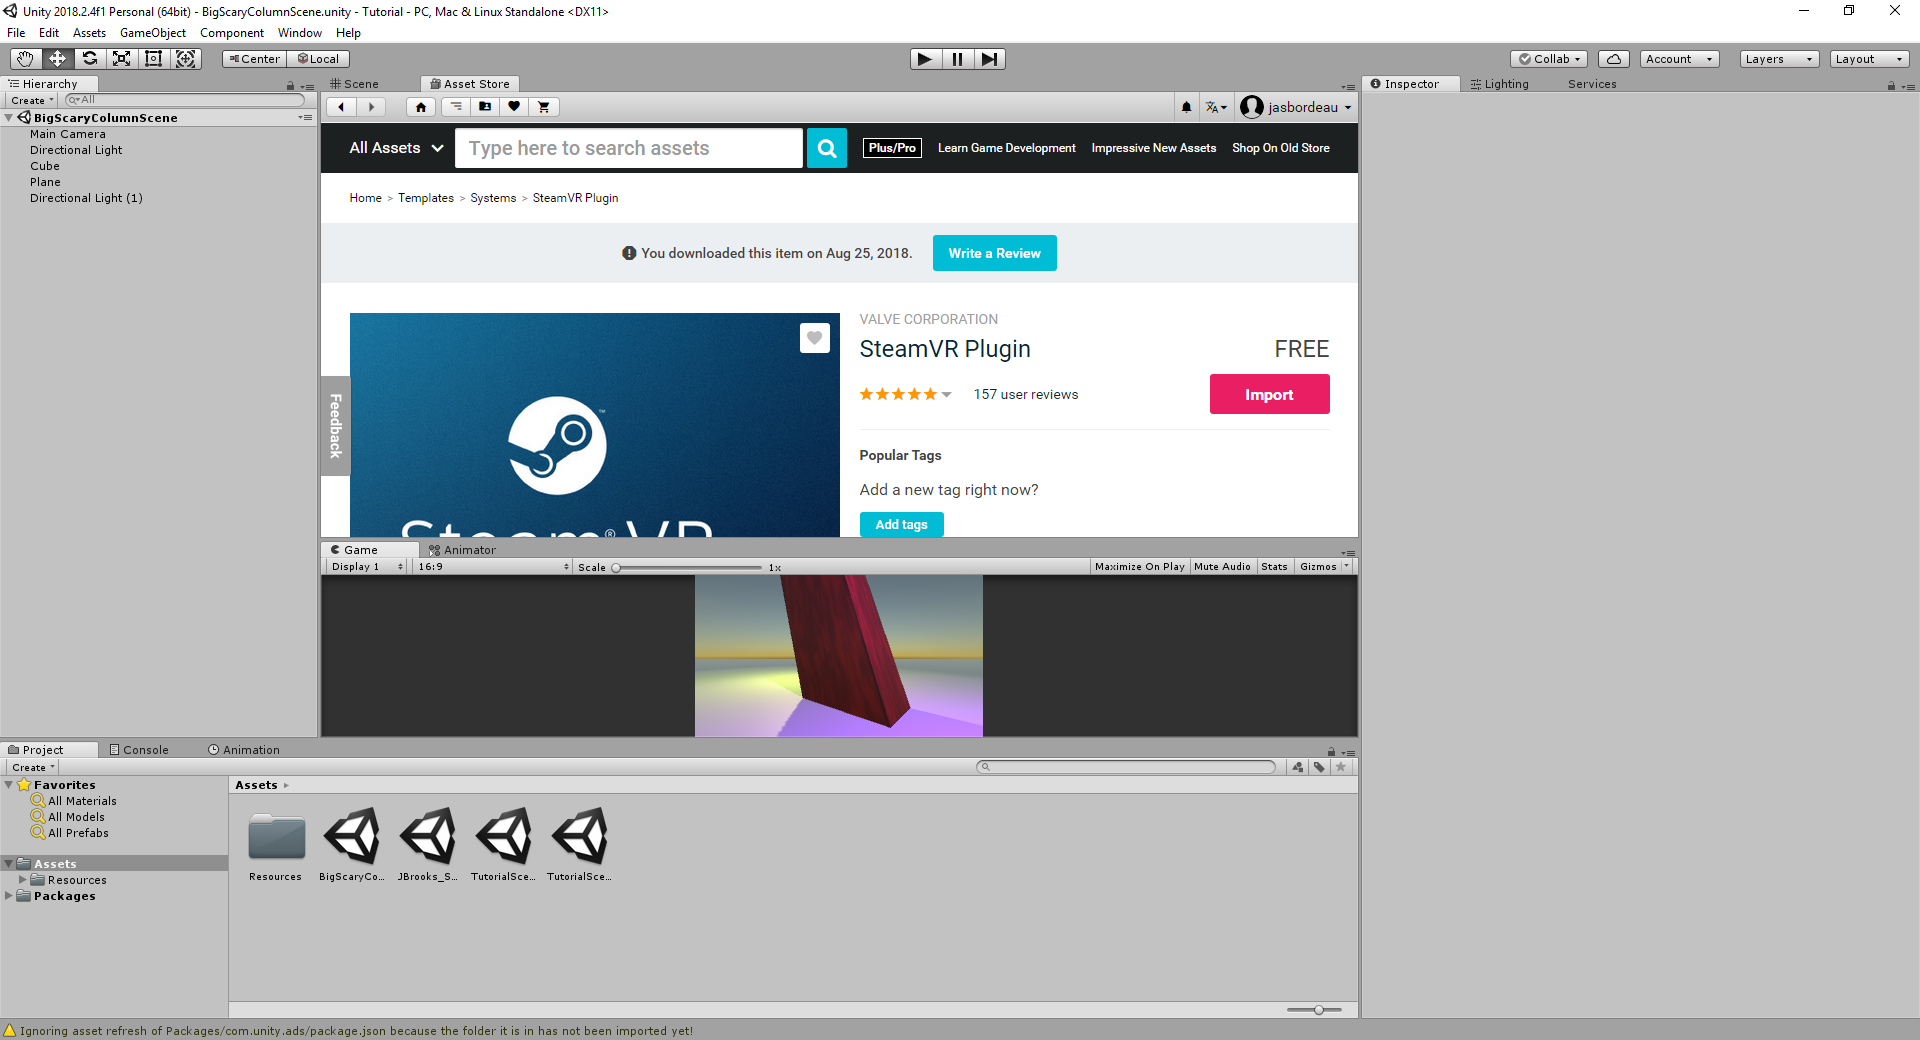
Click on "Import".
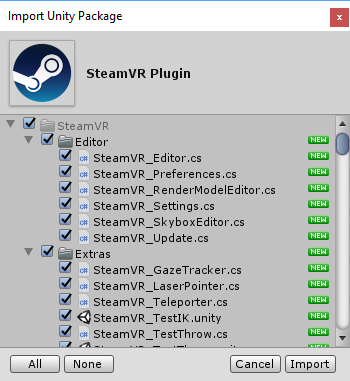
Click "All" and then "Import".
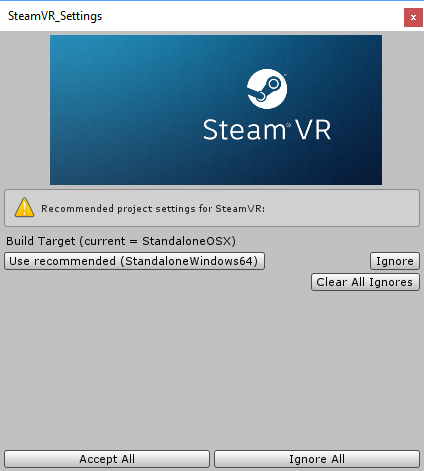
Accept all.
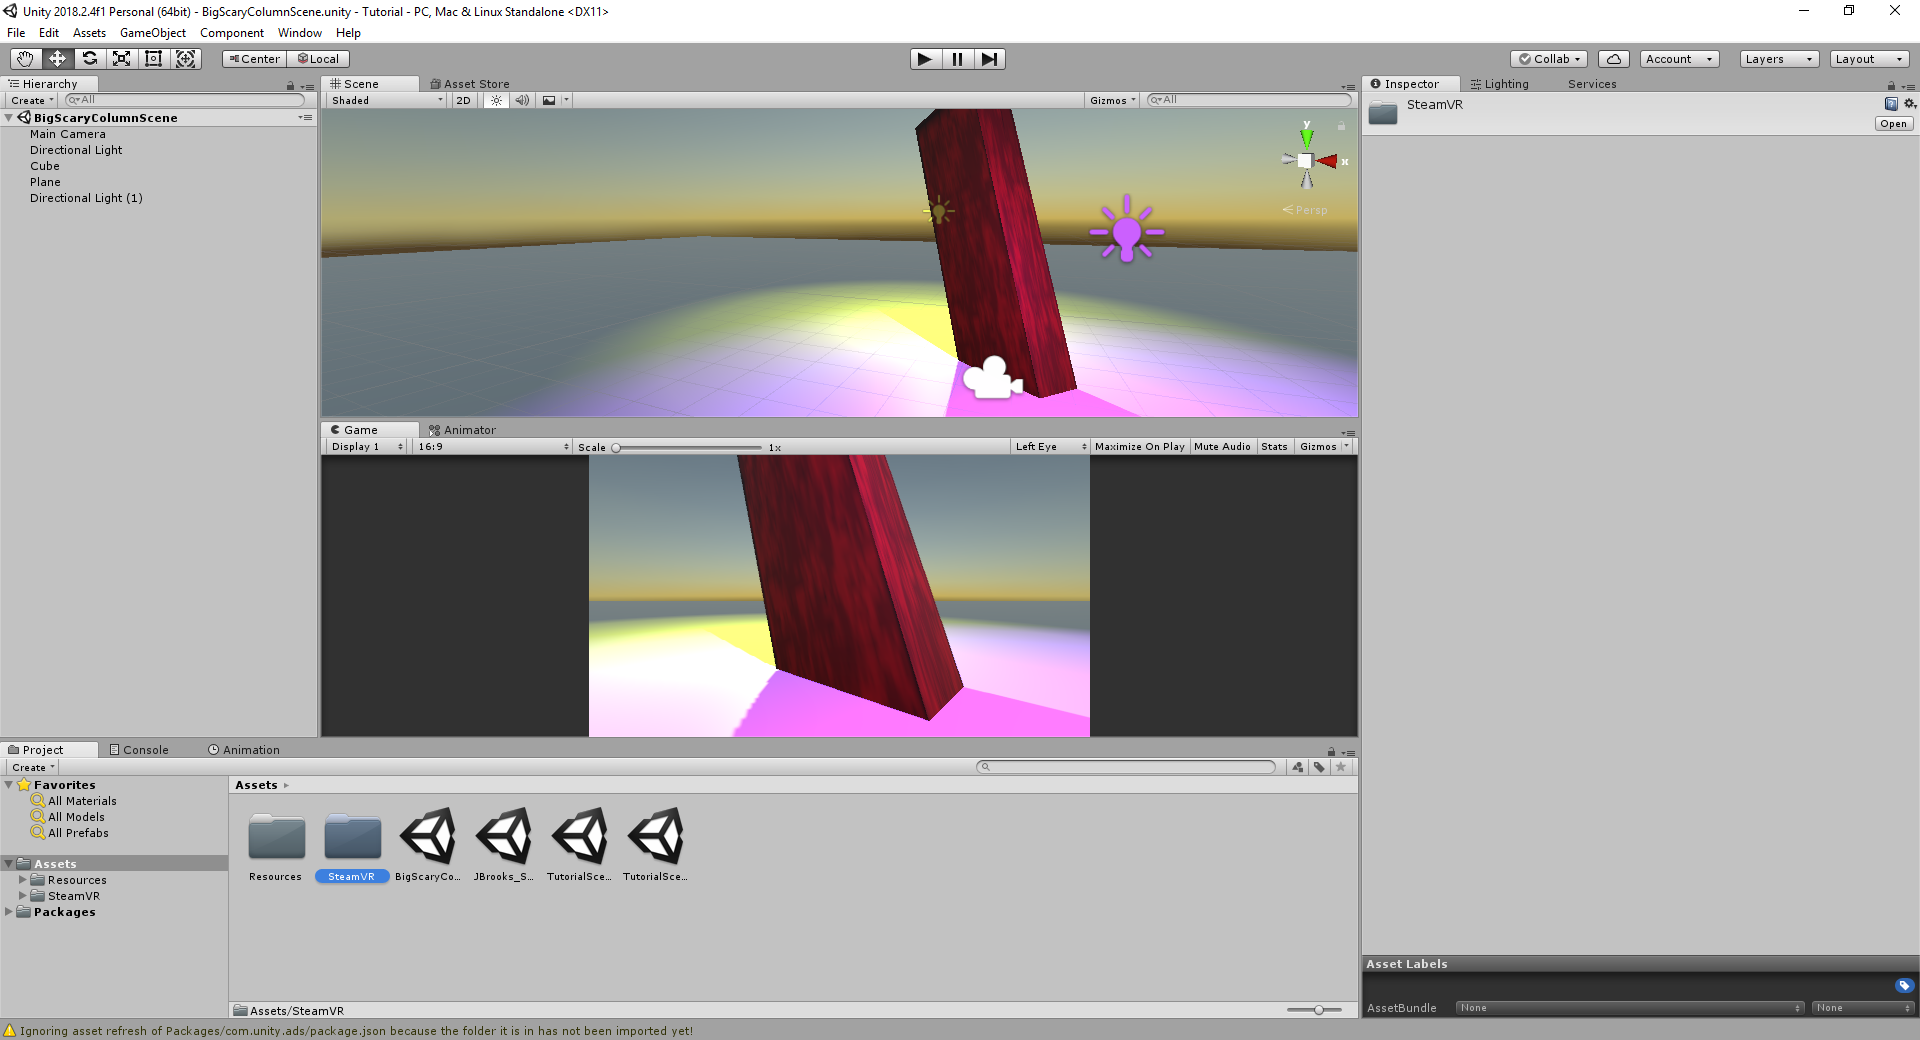
Now you have a "SteamVR" folder under "Assets".
Go to "SteamVR > Prefabs".
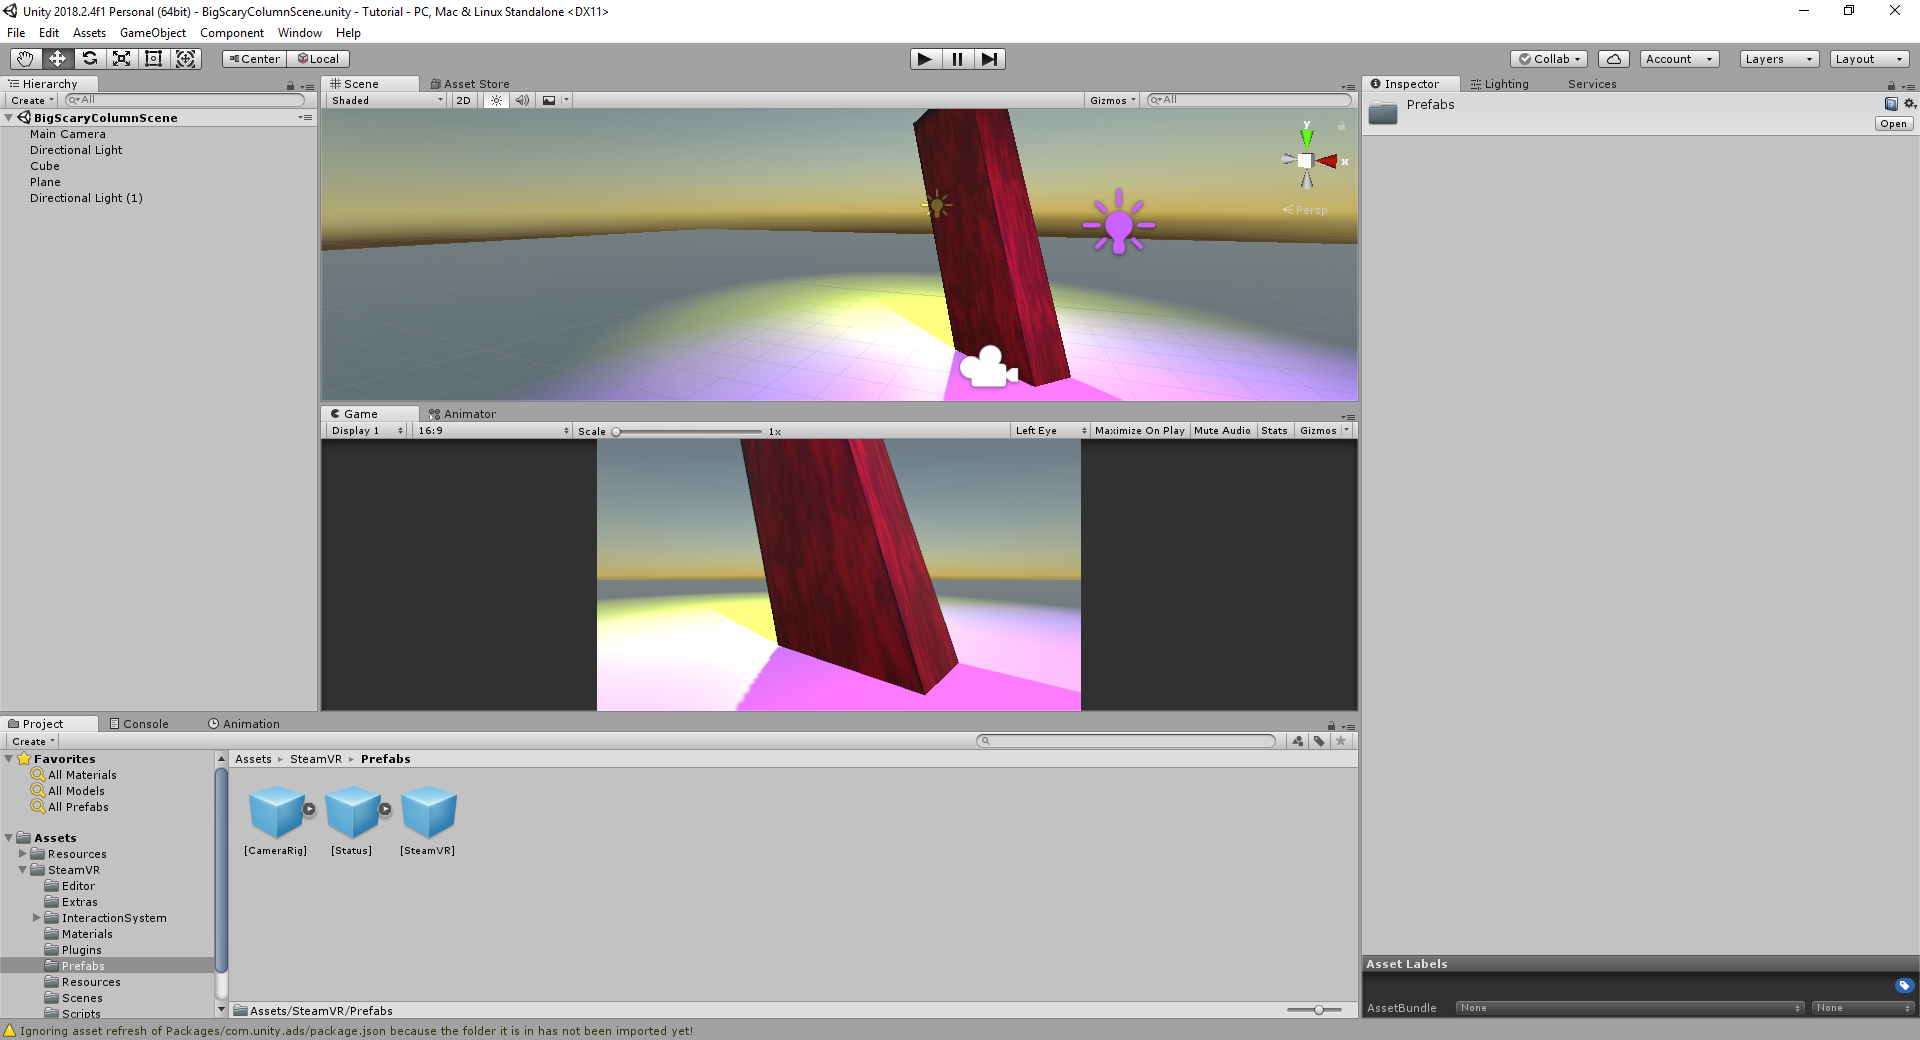
Drag and drop the "[CameraRig]" prefab into the scene.
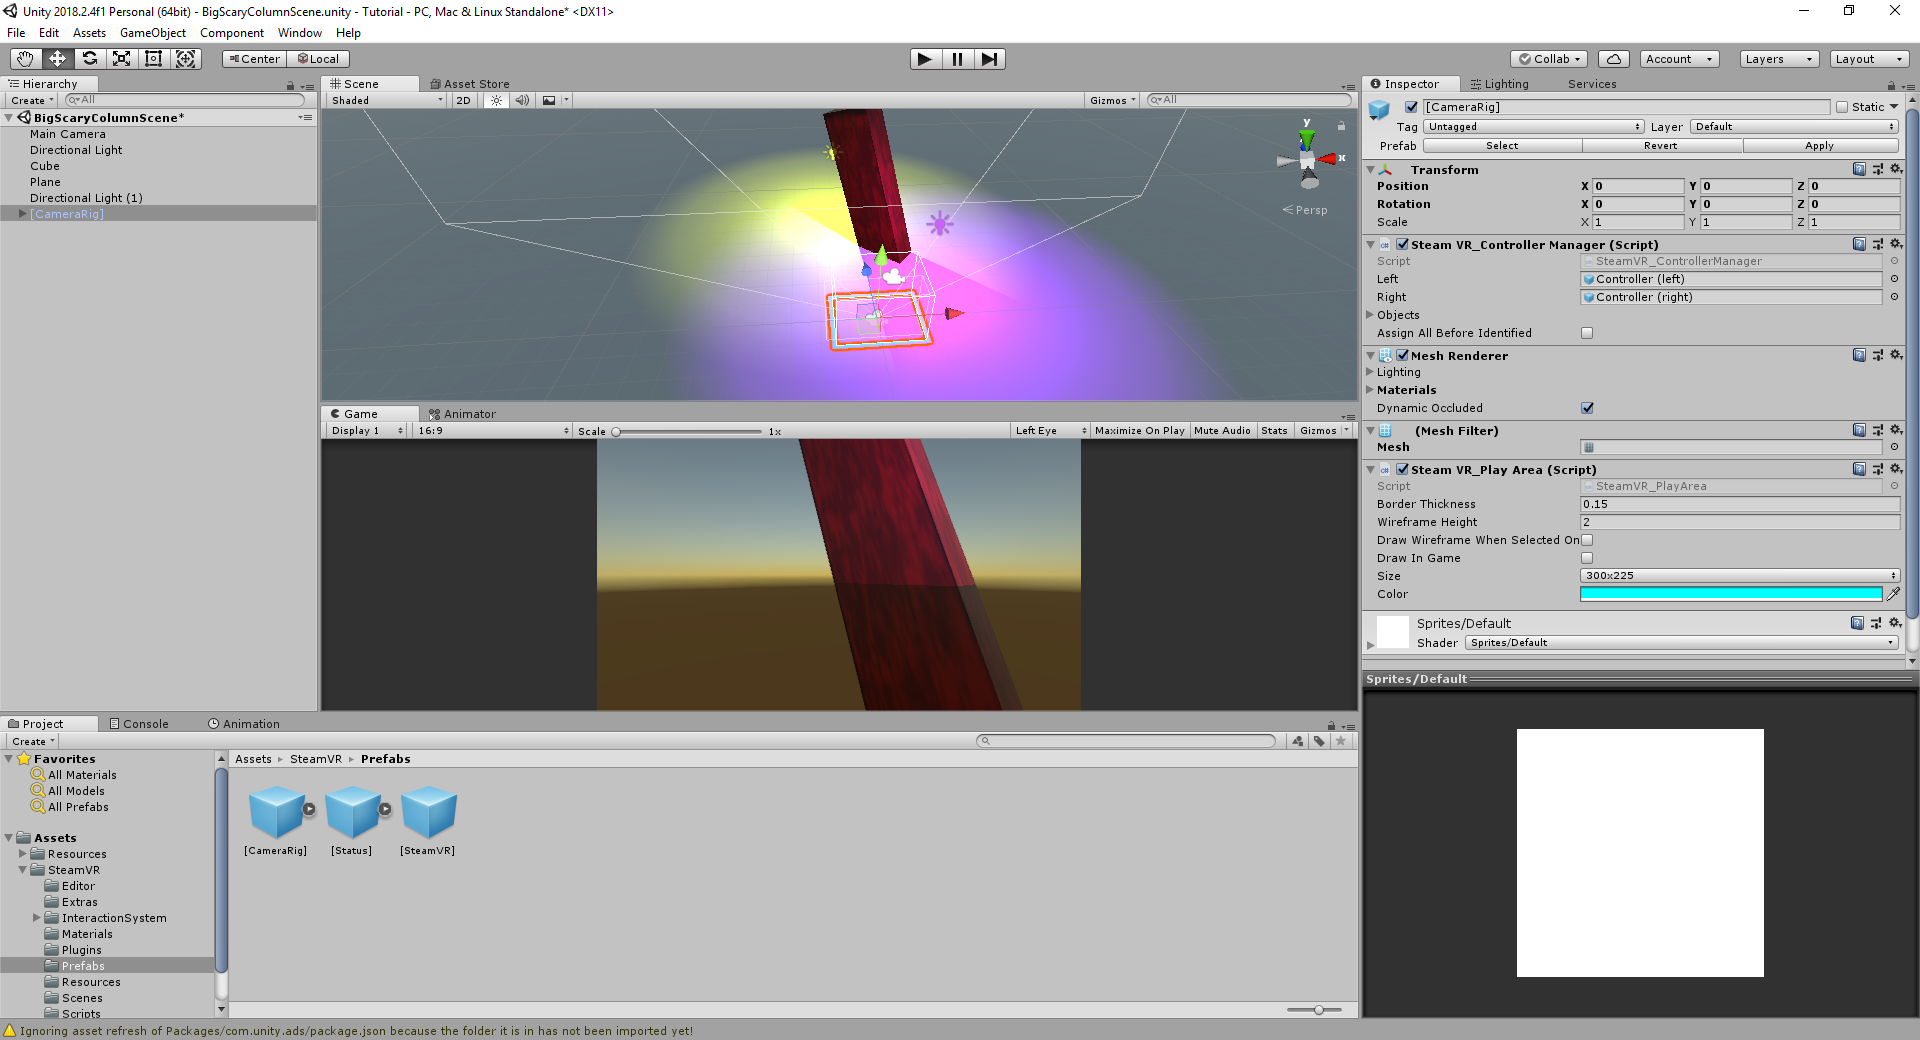
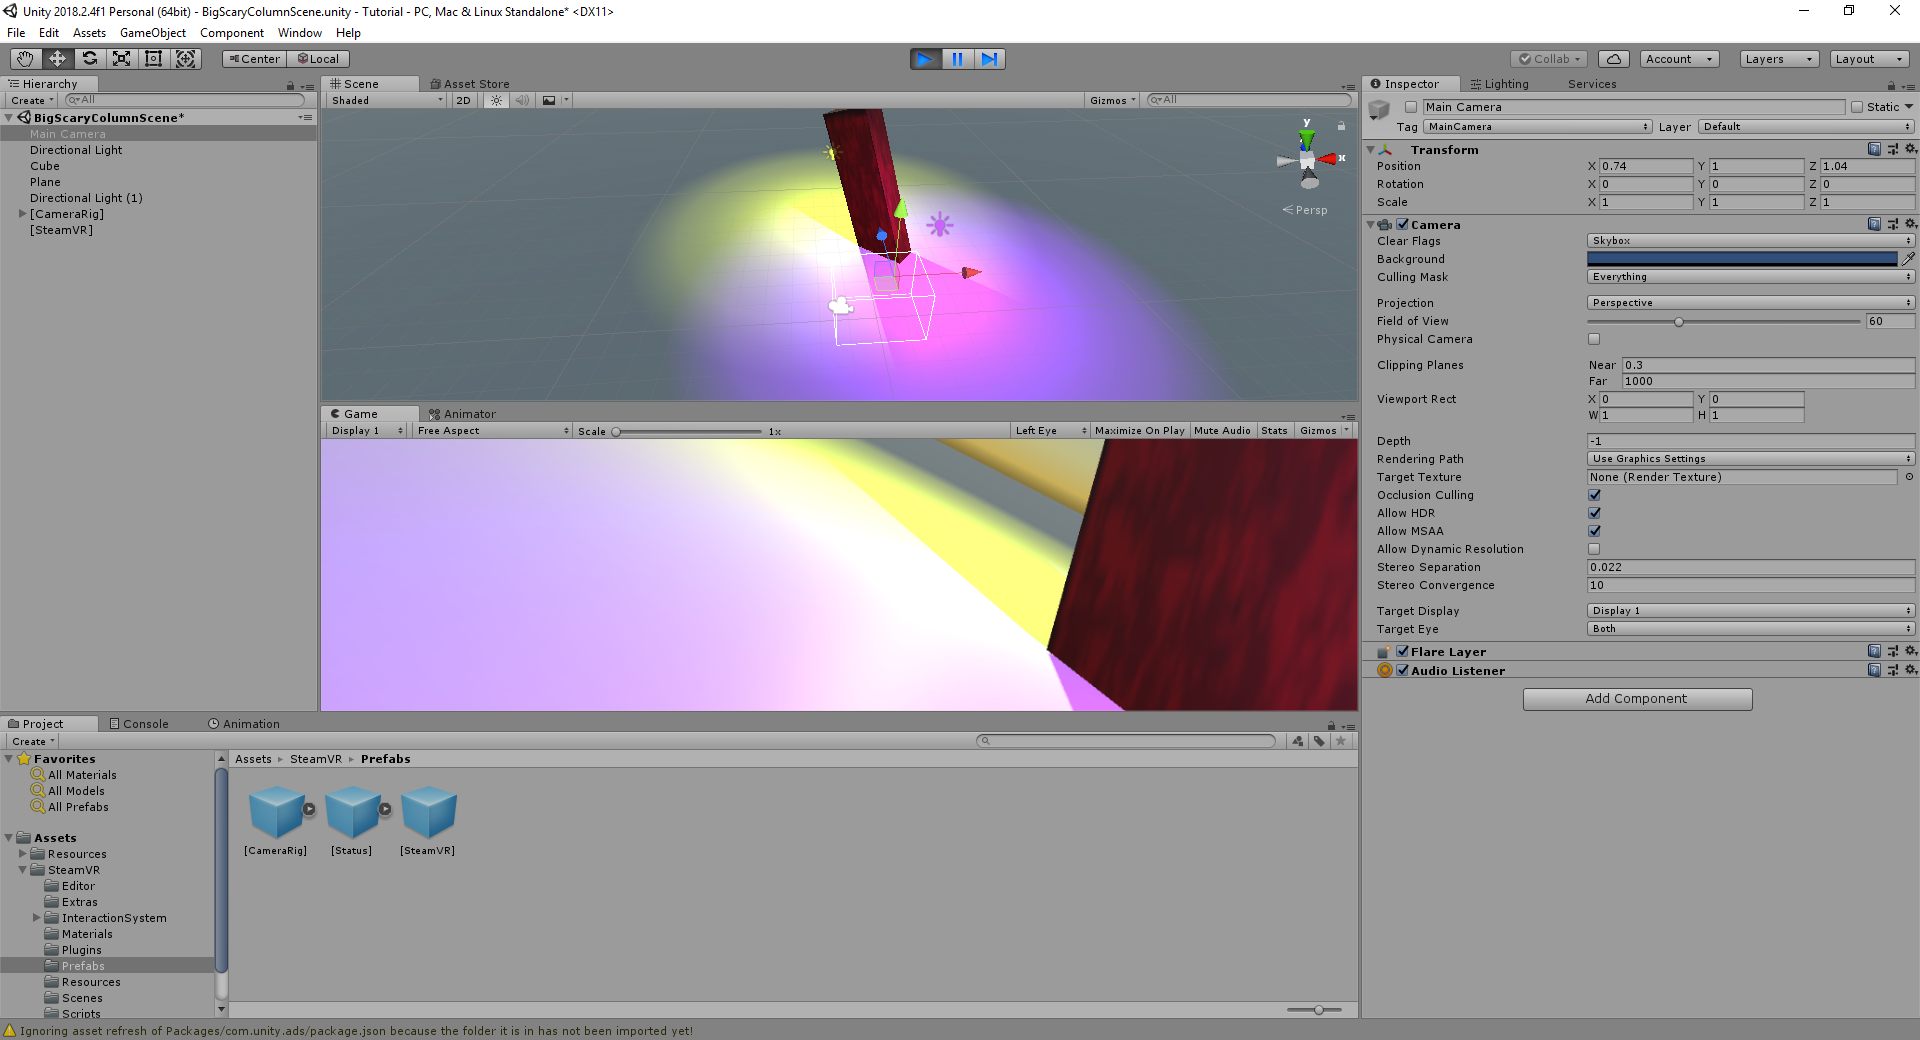
Click on "Main Camera" and look at the Inspector.
Disable the "Main Camera".

Click on Play and put your VR headset on! (At this point, Unity should call up SteamVR. You may have to log in or update Steam at this point!)

(Right now I'm just looking at a random spot, lol. Go wild!)
Building the executable
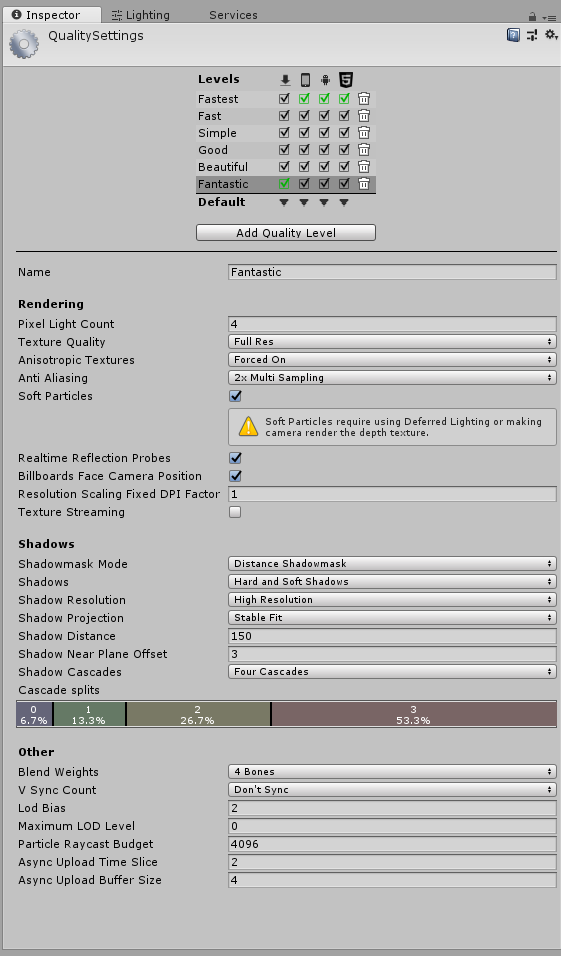
First, go to "Edit > Project Settings > Quality" and set the Level for PC to "Fantastic".
Open the "Build Settings" (Ctrl + Shift + B, or File > Build Settings).
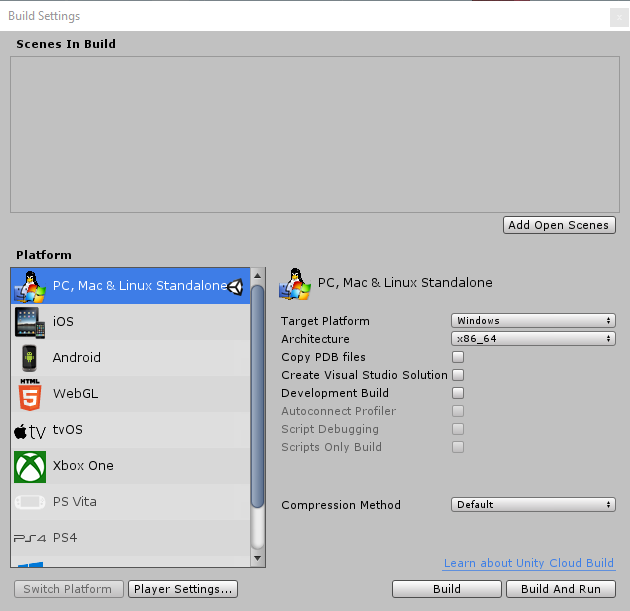
Add open scenes. All the scenes you want to include in your project should be here, and make sure the target platform is "Windows".
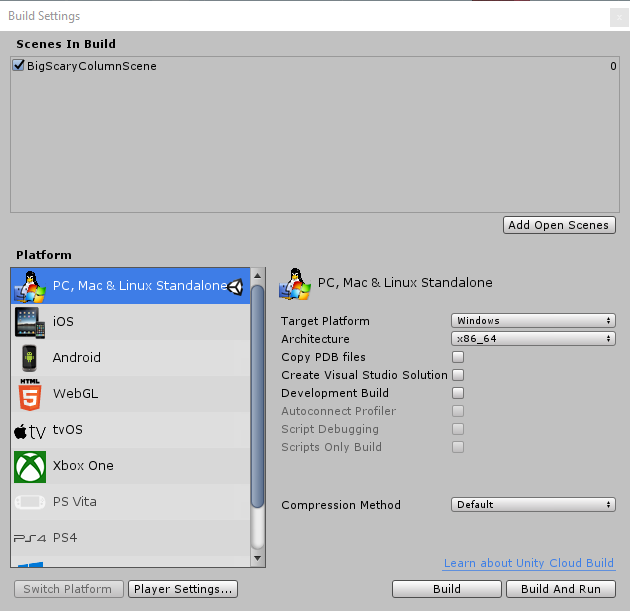
Smash that "Build" button. Choose where you want to save your build. Unity will then build your project, assuming there are no errors or hiccups. It should also then open the folder with your build.
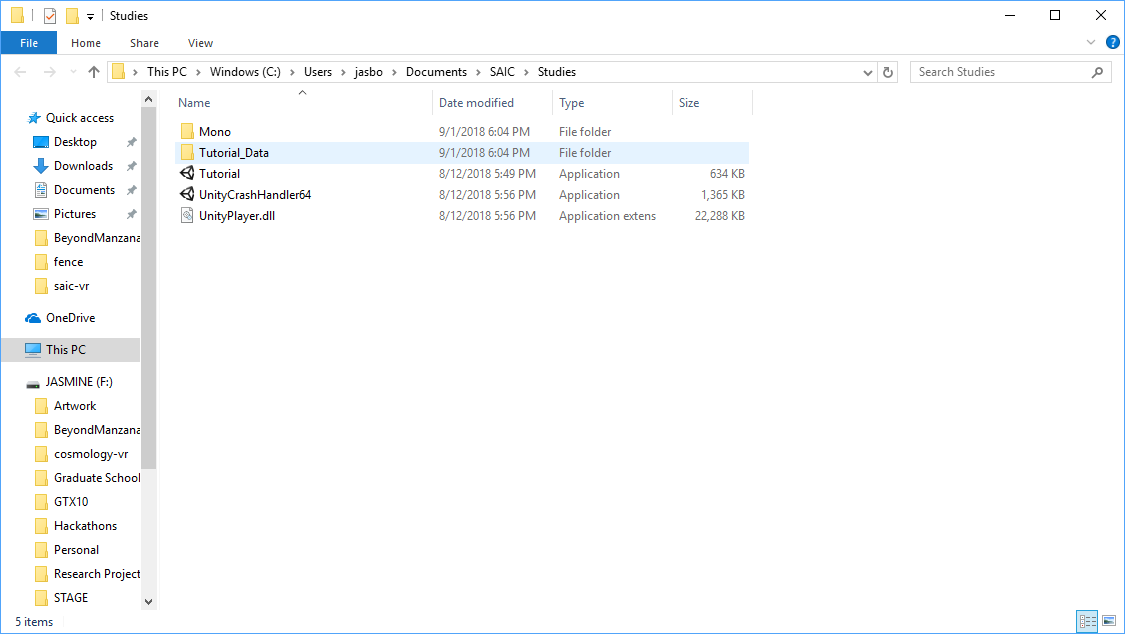
When submitting, send all the files in the folder (ProjectName_Data and what not)!
Different cameras for Headset and Monitor (optional)
Want the view from the monitor to not be a mirror of the headset?
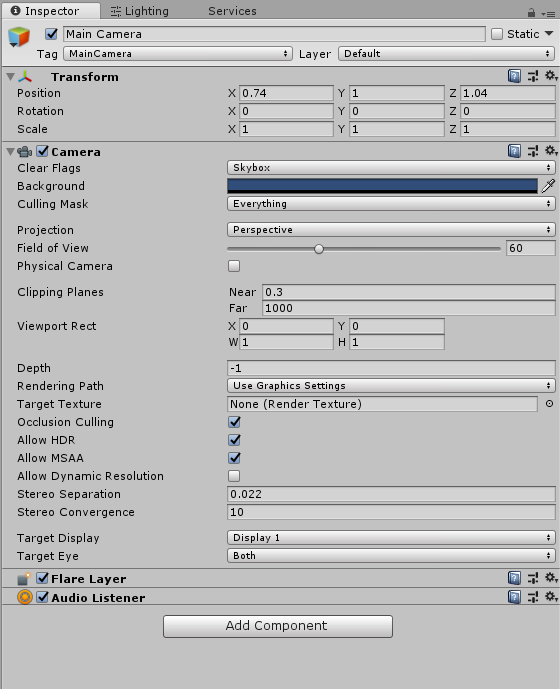
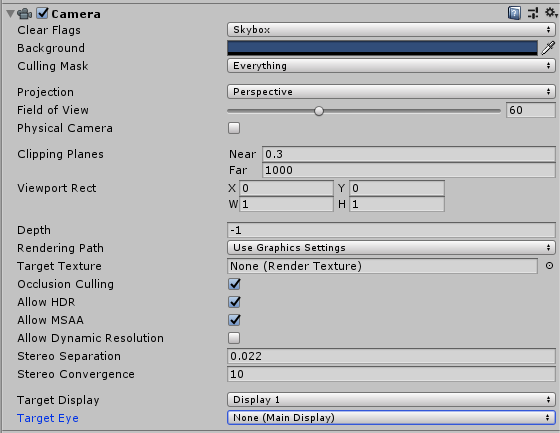
First select "Main Camera" and look at the Inspector. Under the "Camera" component, switch the Target Eye to "None (Main Display)".
Then change the Depth to a non-negative number (eg 10; basically greater than the depth of VR headset's camera).
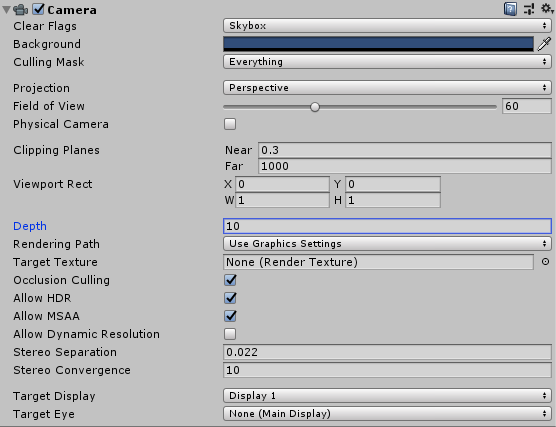
Make sure your "Main Camera" is enabled! Now you have a camera that targets the computer monitor (and doesn't mess with the SteamVR prefab). :) You can now show the audience something that isn't just a mirror of what the VR participant sees.
